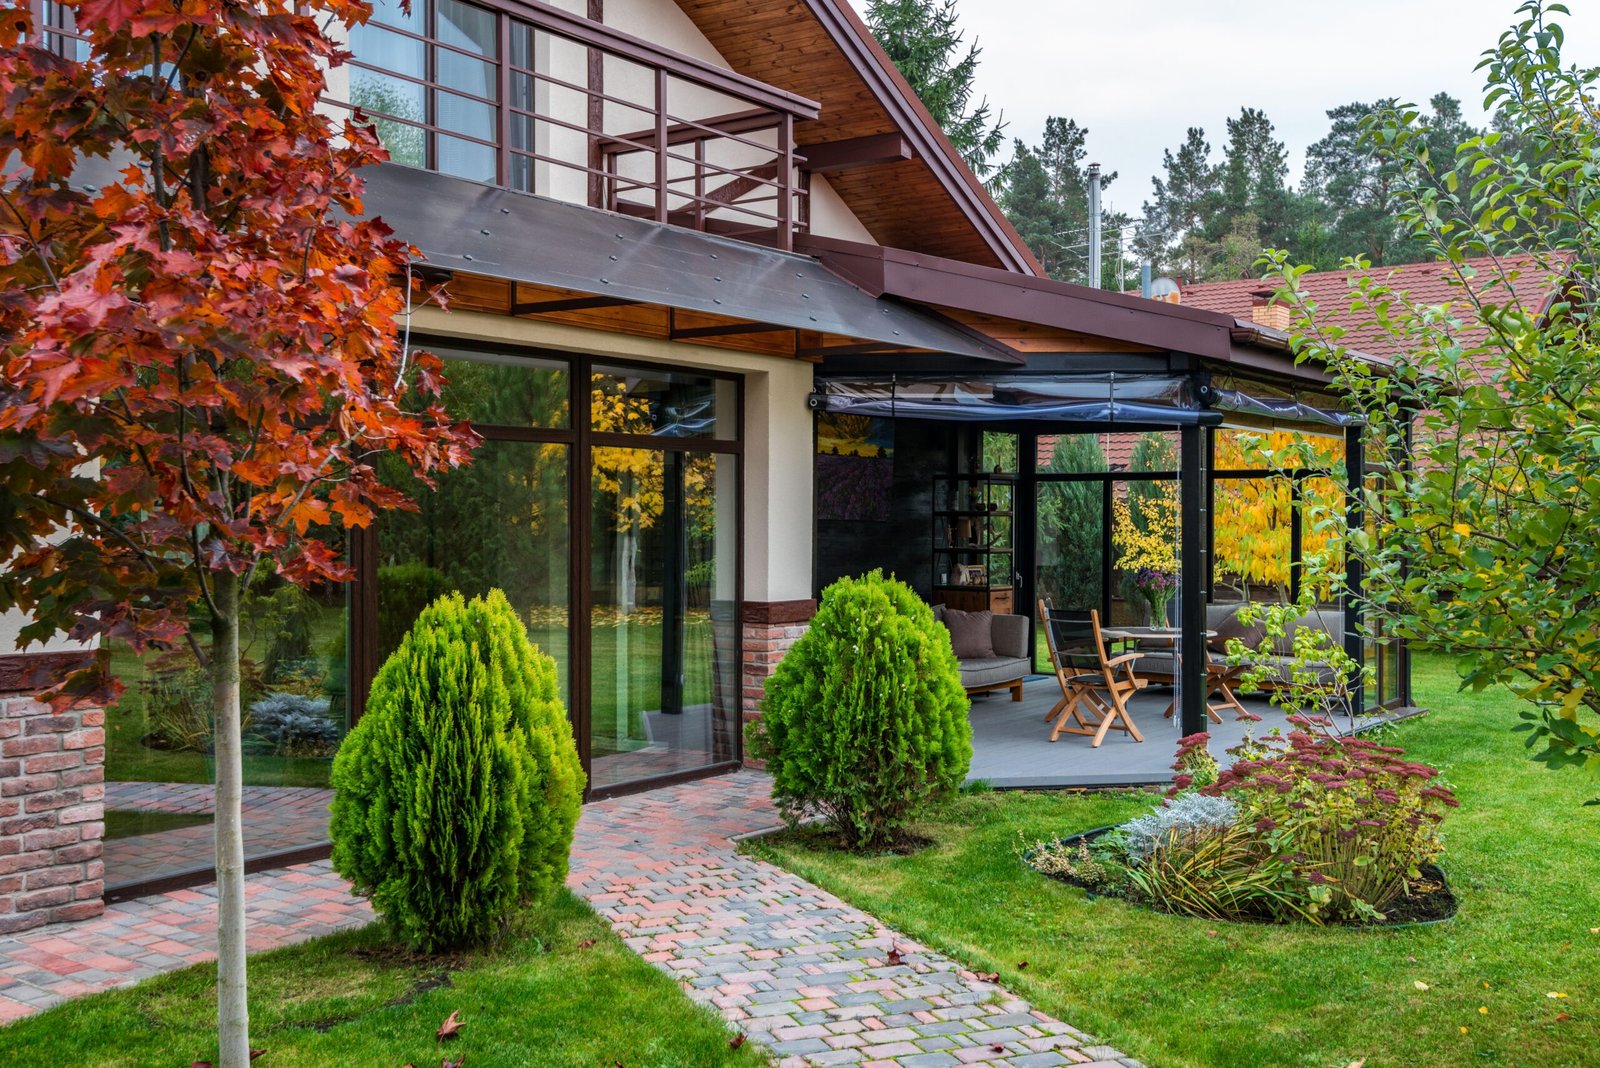
Covered Patio Attached to a House: Planning, Roof Styles, and Safety Checks
A covered patio attached to a house is an outdoor living area with a solid roof that connects to the house at one side and rests on posts at the other. It gives you shade, rain cover, and a room that still feels outdoors.
That connection to the house is also what makes this project different from a freestanding shade structure. A patio roof that attaches to a house touches your wall, your roof drainage, and, in many cases, your permit rules. Get those three right, and the rest of the planning gets much easier.
This guide explains when attachment works, which roof shape suits a low or high eave, what the ledger and footings must do, and how to check permits before you order materials. It is a planning guide, not a build manual for structural work. A licensed professional should handle the ledger connection, the footings, and any work that cuts into your existing roof, and your local building department should confirm whether you need a permit. Get those answers first, and the rest of the planning gets much easier.
What a Covered Patio Attached to a House Actually Is
Think of it as a roof that starts at your house and reaches out over your patio. One side rests on the house. The other side rests on posts and a beam. The roof can be wood framing with shingles or metal roofing, or it can be a manufactured panel system. The floor below is often a concrete slab, pavers, or a deck.
The key point is the word ‘attached.’ The roof is not just leaning against the house or screwed into the siding. It connects to the structure of the house itself, and that connection must keep water out of your wall for years. That is why planning matters more here than it does for a freestanding umbrella or shade sail.
How It Differs From a Pergola and a Porch
A pergola gives you filtered shade and a defined outdoor room, but rain passes through its slats. If your main goal is to sit outside during a shower, a pergola alone will not do it. Some people add a solid cover to an existing pergola, but the loads on the posts and footings, so the existing structure needs to be checked first.
A porch is usually part of the house, often with a foundation and sometimes with walls or screens. A covered patio is lighter and more open. It feels closer to the yard, and it usually costs less in planning complexity than a full addition, but it still needs proper footings, drainage, and flashing.
Read This Before Any Build Guidance: Structure, Permits, and Water
This section comes first on purpose. The most expensive patio cover mistakes are not about color or furniture. They are about water getting into a wall, a roof pulling away from a house, or a permit problem discovered after materials arrive.
A ledger is the horizontal board or beam that connects the patio roof to the house. It must fasten to the structural framing of the house, such as studs or a rim joist, not to siding alone, a point stressed in Homivi’s patio roof attachment guide. Siding is a weather skin, not a support. Fasteners, flashing, and hardware must suit outdoor use and resist corrosion.
Flashing is thin, waterproof material placed so water runs over the joint between the patio roof and the house wall, instead of behind it. Builders who work on these projects point to this joint as the highest leak risk, because a leak there runs into the wall where you cannot see it from the patio, as explained in Volcano Builders’ attached patio guide. If you remember one detail from this article, make it this one: the house joint must be flashed, not just caulked.
Footings are concrete supports in the ground under each post. Posts should stand on their own footings, with proper connectors, rather than simply resting on a patio slab that was never designed to carry a roof. Your soil, frost depth, and local code decide how deep and wide those footings need to be, so do not copy a footing size from another region.
Permits are the other early check. Many local offices require a permit for a permanent attached cover, but the rule is local, and the local building office is the authority for your address. Ask before you order. Also check HOA rules, setbacks from property lines, and any easements on your lot. A quick call or visit can save a rebuild.
Do not attempt ledger attachment, footing design, or a roof tie-in as a first DIY project. Hire a licensed professional for that structural work, and keep the written plan, permit, and inspection records with your house documents. For gas lines, new electrical circuits, or ceiling fans and heaters wired into the structure, use licensed trade professionals as well.
Attached or Freestanding: Which One Fits Your House?
An attached cover feels like an extension of the house. You step out of the door and you are already under the roof. It usually needs fewer posts, because the house carries one side, and it often looks more intentional than a separate structure floating in the yard.
A freestanding cover stands on its own posts and footings near the house, with a small gap or a flexible flashing strip at the wall. It does not rely on the house for support. That independence is its strength.
When Attachment Works Well
Attachment works well when the patio sits directly beside the house, the wall has accessible structural framing, and the eave or fascia is high enough to give you comfortable headroom under the new roof. It also works well when you want a clean, continuous look from the kitchen or living room to the patio.
When Freestanding Is the Safer Choice
Freestanding is often the safer choice when the wall is brick or stone that cannot easily take new anchor loads, when the wall already holds pipes, vents, or wiring in the way, or when the eave is too low for a comfortable attached roof. It is also worth considering if you plan to enclose the space later, or if you want the freedom to place the cover a few feet away from the house. You still need a clean water detail at the gap, so runoff does not pour between the roof and the wall during storms, but you avoid cutting into the house structure.
The Five-Question Patio Check
Before you fall in love with a roof style, answer these five questions. They filter every choice that follows, and they are the original planning tool for this article. Write your answers down and share them with any contractor or kit supplier.
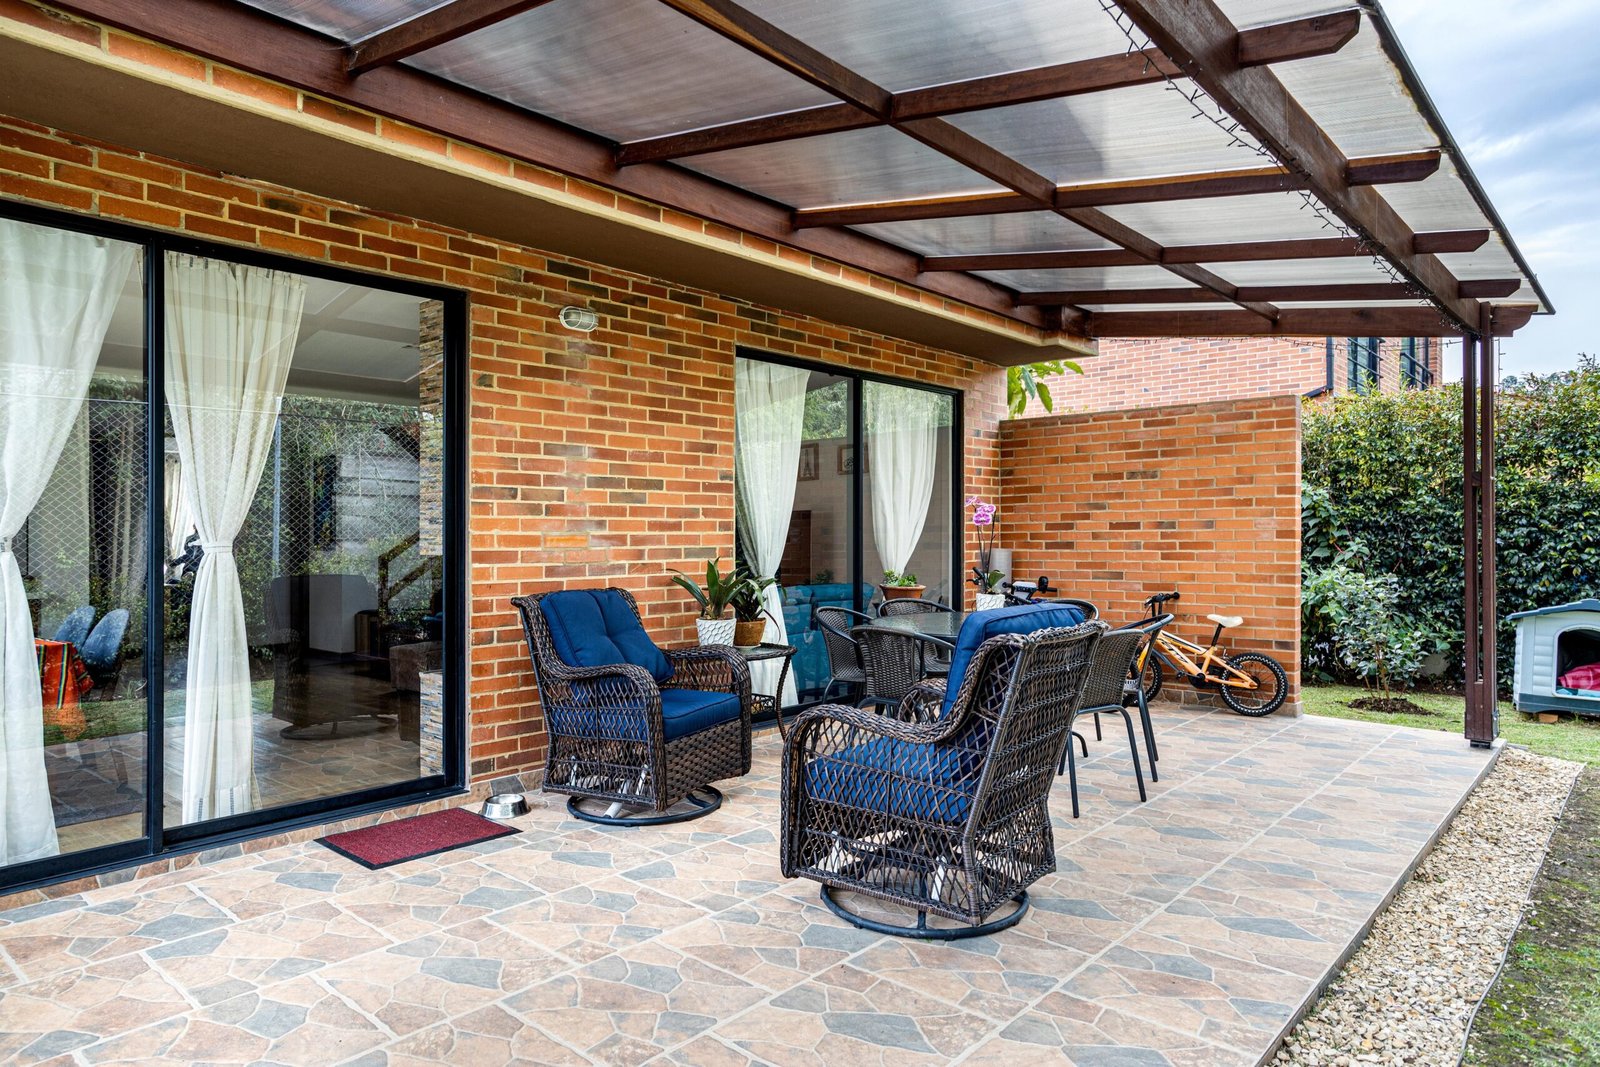
- How high is the eave? Stand on the patio and look at where the roof would meet the house. A low eave limits your roof slope and your headroom. If you cannot get comfortable clearance under a sloped roof, a different shape, or a freestanding cover, may fit better.
- What is the wall made of, and what is behind it? Siding, brick, and stucco each need a different flashing and fastening approach. Ask what framing sits behind the wall surface, and whether vents or utilities cross the attachment line.
- Which way does the slab slope? Water should drain away from the house, not toward it. If your slab slopes toward the wall, or if water pools near the door after rain, fix the drainage question before you add a roof that collects even more water.
- Where does the sun travel? A west-facing patio needs shade late in the day, when the sun is low and hot. A north-facing patio may need all the light it can get. Your sun path decides how much solid roof helps and how much it hurts indoor light.
- How does the door swing, and where do people walk? A door that swings out, a grill station, and a path to the yard all need clear space. Measure the door swing and the main walking route before you place posts, because a post in the middle of the path will annoy you every day.
If any answer surprises you, that is good news. You found the problem on paper, where it is cheap to fix.
Roof Shapes Compared: Shed, Gable, Hip, and Low-Slope
The roof shape decides the look, the headroom, the rain handling, and often the cost of framing. Here is how the common shapes compare for an attached patio.
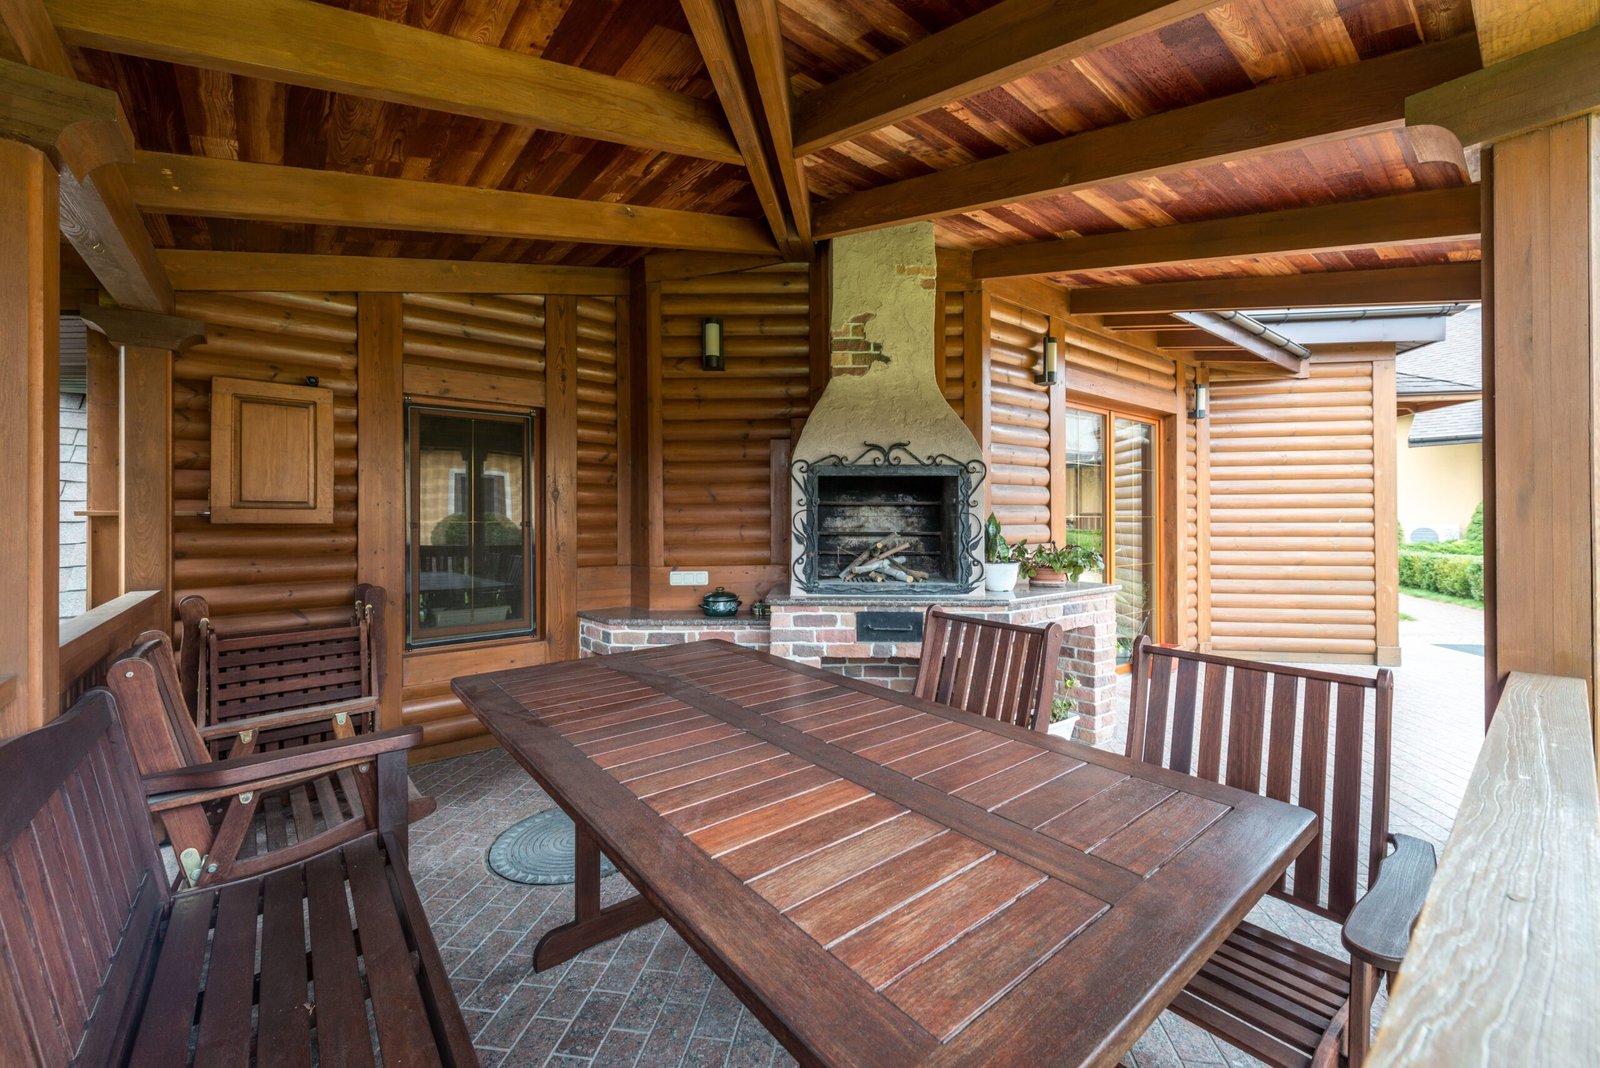
| Roof shape | How it looks and drains | Height it needs | Watch out for |
|---|---|---|---|
| Shed (single slope) | One slope running away from the house; simple and easy to drain | Lowest; works with many eaves | Can look plain; needs enough slope to shed water |
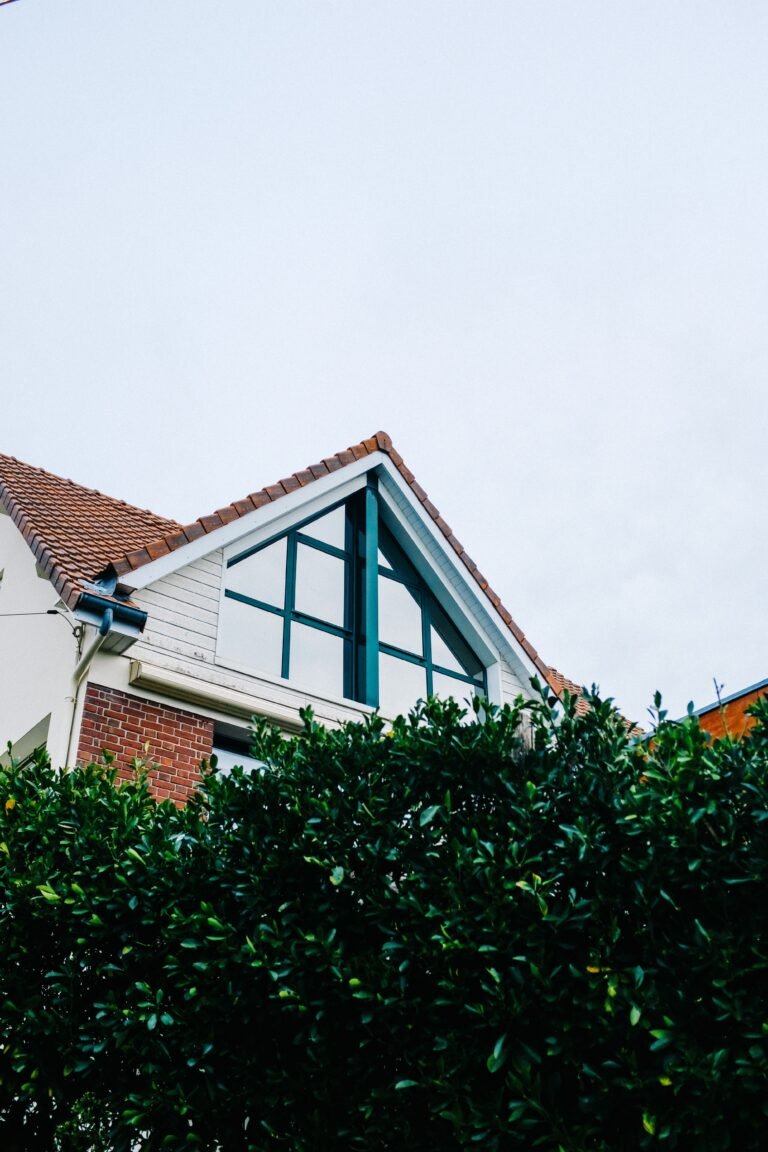
| Gable | A peaked triangle, like a small house roof, with two slopes | Highest; needs a tall wall or a roof tie-in | More framing and flashing at valleys; can block upper windows |
| Hip | Slopes on all sides, meeting at a ridge or point | Medium to high | More complex framing than a shed roof |
| Low-slope or flat | Nearly flat with a slight slope for drainage | Lowest profile; suits modern homes | Needs careful waterproofing and regular leaf clearing |
A shed roof is the most common choice for an attached patio, and for good reason. It is simple, it drains away from the house in one direction, and it fits under many eaves. A gable roof looks more like a house extension and gives you a high, airy ceiling, but it needs height and careful tie-in work where it meets the existing roof. A hip roof softens the look from the sides and handles wind well, but its framing is more involved. A low-slope roof suits a modern home and a tight height limit, but it demands careful detailing so water does not pond on it.
The Structure in Plain Language: Ledger, Posts, Beam, and Footings
You do not need to build this yourself to plan it well. You do need to understand the parts, so you can ask good questions and spot a weak plan.
The ledger connects the roof to the house framing. The rafters run from the ledger out to the beam. The beam runs across the tops of the posts. The posts carry the outer edge of the roof down to the footings. The footings spread that weight into the ground.
Shade, Light, and Airflow: The Comfort Trade-Offs
Lay Out the Space: Door, Table, and Walkway
Here is a labeled example to show how layout decisions work in practice. Imagine a family with a back door that opens onto a patio about 14 feet deep and 20 feet wide. They want a dining table for six, a grill station, and a clear path to the yard.
Start with the door. Keep the swing clear and leave a landing area where people can step out without bumping into a chair. Next, place the dining table where it gets shade at dinner time, not just at noon. Then put the grill where smoke blows away from the seating and the door, with enough clearance from the roof and walls for the grill manufacturer’s requirements. Finally, draw the walkway to the yard as a straight, unobstructed line, and keep posts out of it.
This order matters. People often place the table first and discover the door problem later. Door, then table, then grill, then walkway gives you a layout that works on a busy evening, not just in a photograph.
Materials That Age Well Outdoors
Wood looks warm and traditional, and it can be stained or painted to match the house. It needs regular sealing or painting, and it must be kept dry at its connections to avoid rot. Cedar and other naturally durable woods handle weather better than untreated lumber, but they still need care.
Aluminum and steel systems are lighter in maintenance and often come as kits with matching posts, beams, and panels. Aluminum resists rust and suits many climates. Steel is stronger for longer spans but needs a protective finish. Check how the finish holds up in your sun and salt exposure, and how the system handles expansion in heat.
Permits, HOA Rules, and Neighbors
Check four things before you order materials: the local building permit, HOA approval if you have one, setback rules for your lot, and easements that limit where you can build. A permit application usually needs a drawing that shows the size, the attachment, the footings, and the drainage. Some offices also want the roofing material and the post locations.
Questions to Ask a Contractor or Kit Supplier
Take this list to your first meeting. It comes directly from the sections above, so the answers will tell you whether the plan fits your house.
- How will the ledger attach to my framing, and how will the joint be flashed?
- What footing size and depth does my soil and local code require, and who verifies it?
- What roof slope and gutter plan will keep water away from the house and the neighbors?
- How much headroom will I have at the outer edge, not just at the wall?
- Will this cover darken the room behind it, and what can we change if it does?
- Does the kit or plan suit local snow, wind, and rain loads?
- Who handles the permit, the inspections, and the final walkthrough?
- What maintenance does each material need in the first five years?
A clear, specific answer to each question is a good sign. A vague answer to the ledger or flashing question is a reason to get a second opinion.
Frequently Asked Questions
Do I need a permit for a covered patio attached to my house?
Often, yes, but your local building office decides for your address. Permanent attached covers commonly need a permit, while small freestanding covers sometimes do not, depending on size and local rules. Ask before construction, and keep the permit and inspection records.
Can a patio roof attach to siding?
No, not as its structural support. The ledger must fasten to the structural framing behind the siding, with flashing that directs water over the joint. Siding alone cannot carry the roof, and a connection that relies on siding risks leaks and movement.
Attached or freestanding: which is better?
Neither is better in general. Attachment suits a patio beside the house with a high enough eave and accessible framing. Freestanding suits a low eave, a wall that cannot take anchor loads, or a cover placed away from the house. Let eave height, wall condition, and drainage decide.
What roof shape works with a low eave?
A shed roof or a low-slope roof usually fits best, because it needs the least height. A gable roof needs more height and often a tie-in to the existing roof. If headroom is still tight, a freestanding cover with its own post height may solve the problem.
How do I stop leaks where the patio roof meets the house?
Use proper flashing at the joint, a roof slope that sheds water away from the wall, and gutters that carry water to a safe outlet. Flashing, not caulk alone, is the protection. Have a licensed professional detail and inspect that joint, and check it after the first heavy rain.
Can I turn an existing pergola into a covered patio?
Sometimes, but the posts, beams, footings, and house-side support must be checked first, and some parts may need to be larger or rebuilt for a solid roof. A pergola designed for shade does not automatically carry the weight and wind load of a roof.
A Calm Way to Decide
A covered patio attached to a house earns its keep when it fits your eave height, keeps water out of your wall, and gives you a shaded place you actually use. Run the five-question check, compare roof shapes on height and drainage rather than looks alone, and settle permits and the ledger detail before you buy. For the planning background behind this guide, see About page and the outdoor ideas on Luxury Homes Idea. The right cover is the one that suits your house, your sun, and your daily routine, not the largest roof you can fit.
For the structural detail in this article, the step sequence and leak warning follow Volcano Builders’ attached patio guide, the attachment methods and ledger risks follow Homivi’s patio roof attachment guide, and the permit caution and kit-size range follow Western Timber Frame’s attached patio cover guide.
Disclaimer This guide is general information for planning only, and homes, local rules, and site conditions vary. Structural, roofing, and electrical work should be assessed by qualified, licensed professionals, and your local building department should confirm permit requirements before construction.