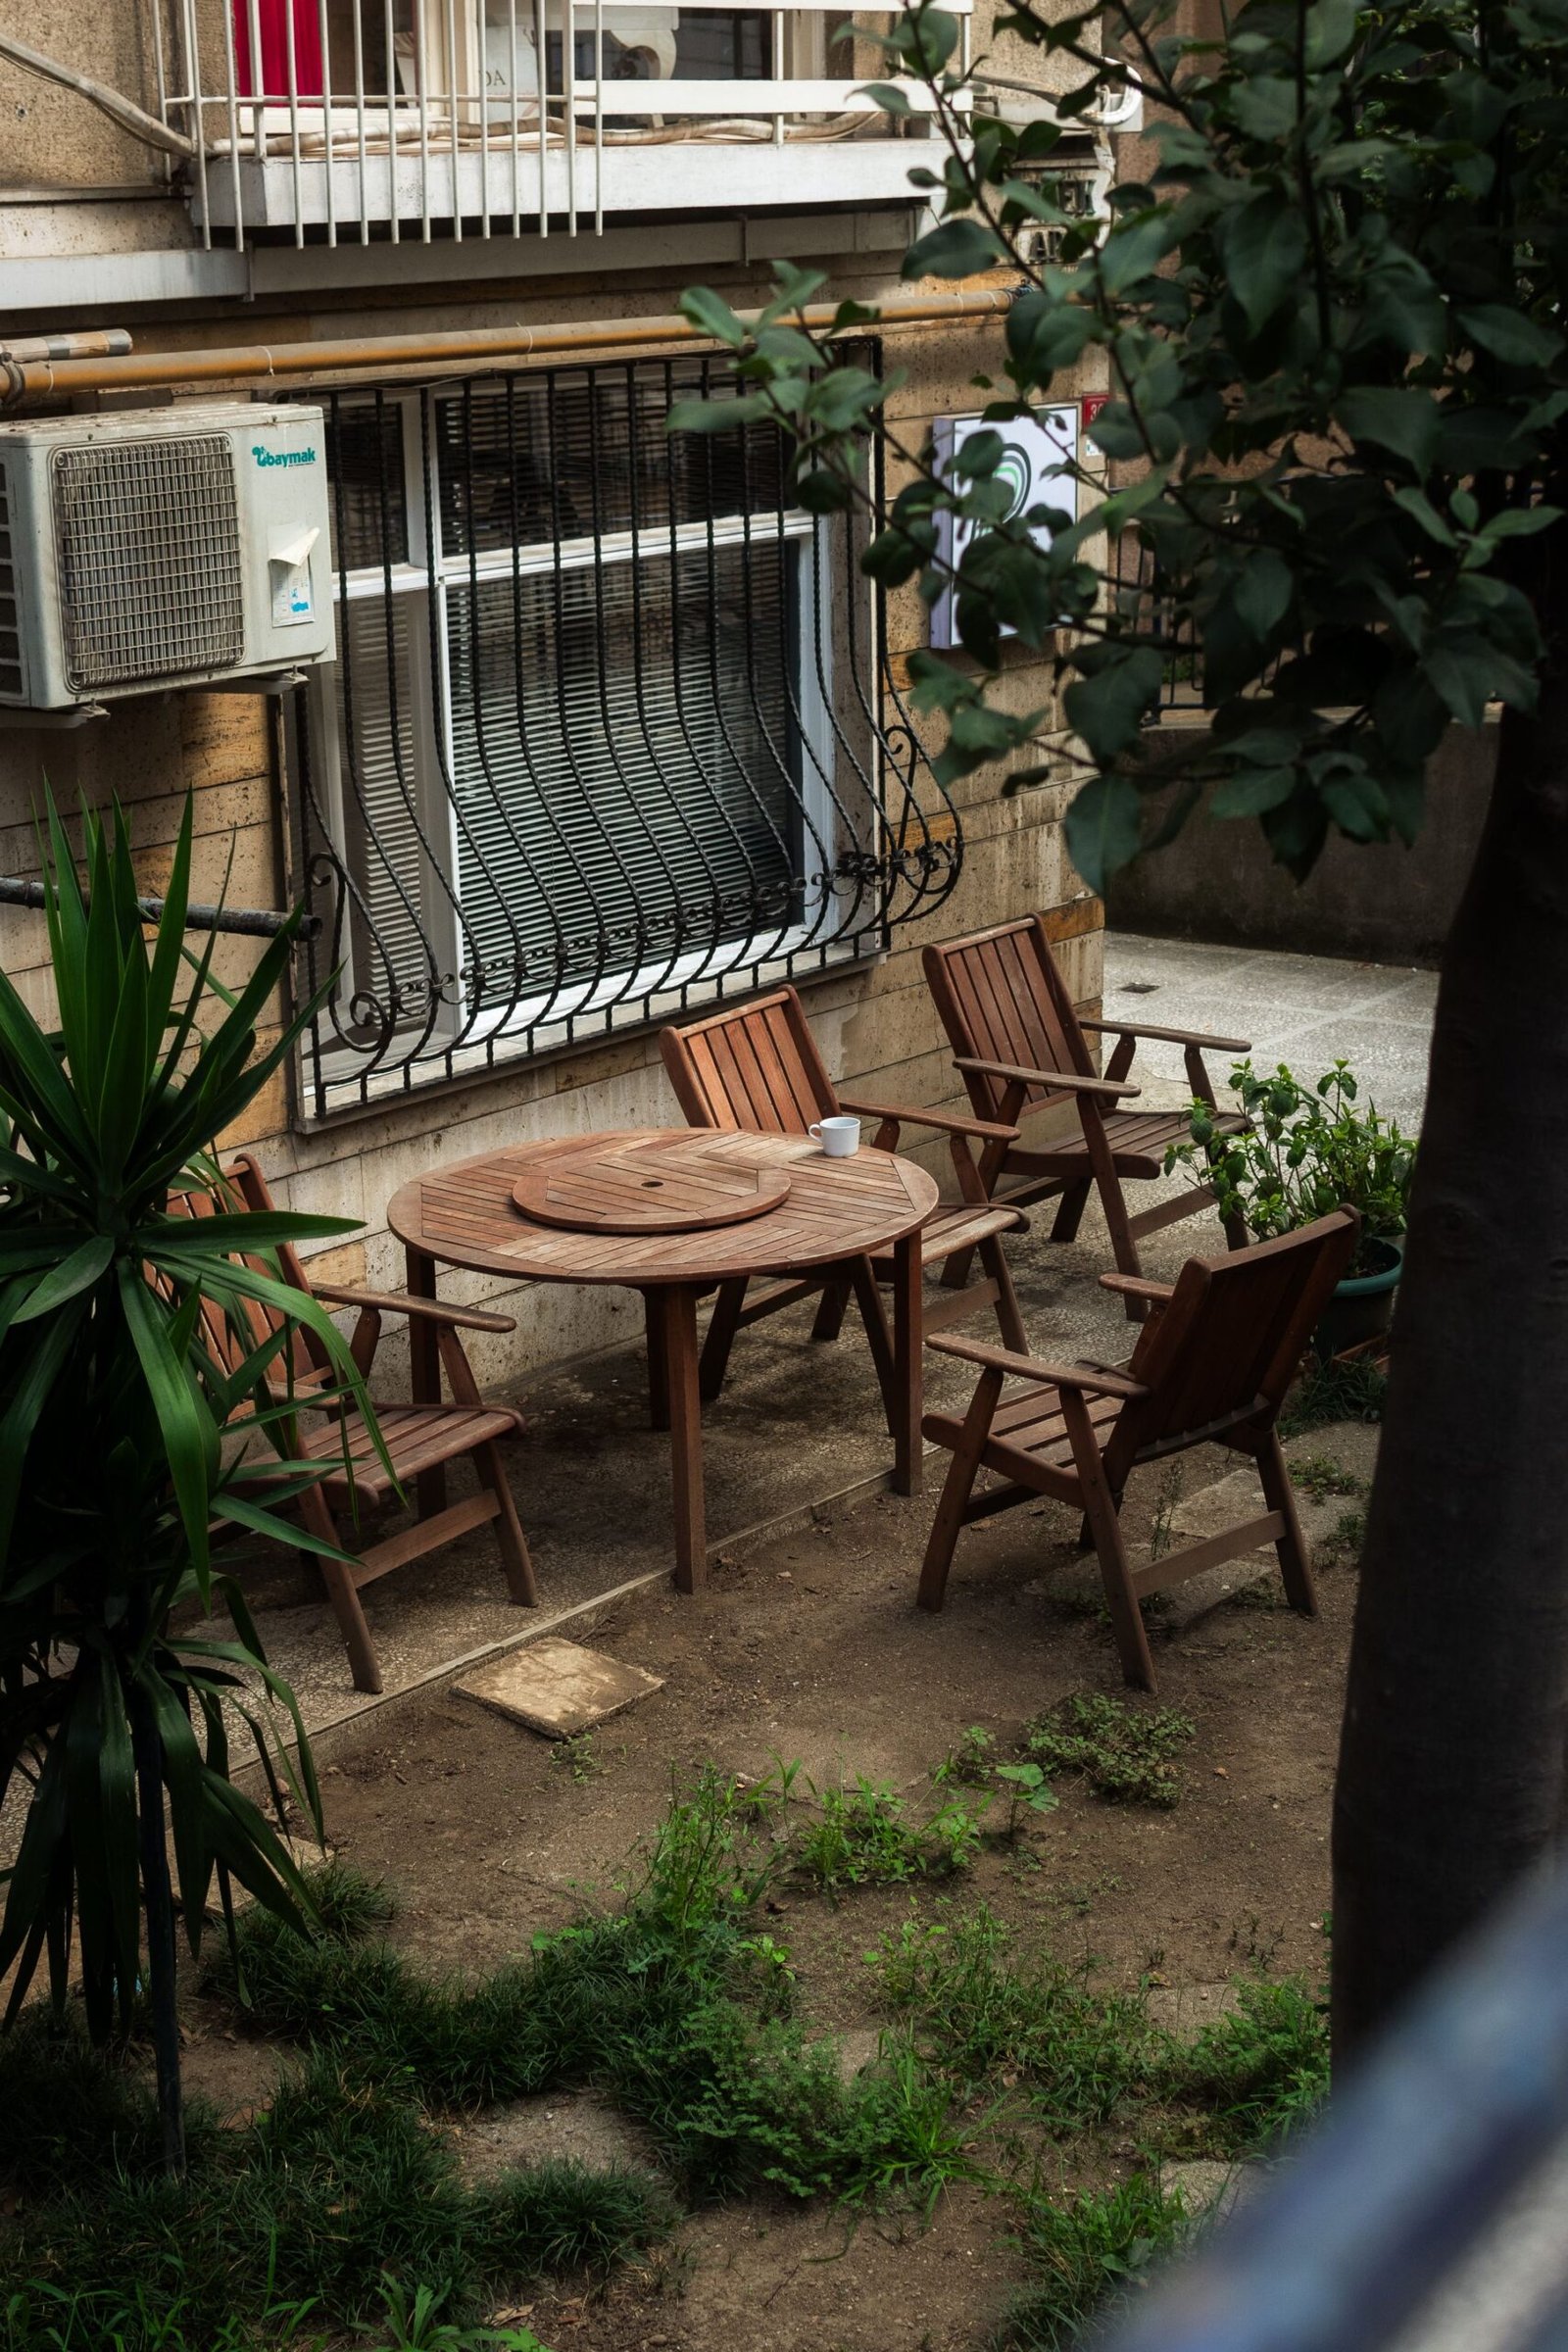
Small Backyard Ideas: A Layout That Makes a Small Yard Feel Bigger
Small backyard ideas work when the yard is divided into two or three clear zones, with an open center and one focal point. A small yard does not feel bigger because it has more features. It feels bigger because it has destinations: a place to eat, a place to sit, and a place to grow, each with its own small character.
That is the whole method in one sentence, and it comes with a condition. No layout can make a yard fit a use it simply cannot hold — a full dining set, a trampoline, a vegetable farm, and a play area will not all fit comfortably in a tiny plot. The skill is choosing two or three uses that matter most and giving each one a proper place.
The One Rule: Zones, Not Features
Most small yards fail in one of two ways. Some are empty: a patch of lawn, a straight path, and a fence. They feel unfinished because there is nowhere to go. Others are crowded: a fire pit, a play set, a shed, planters, and a grill, all competing for the same few feet. They feel smaller than they are because the eye has nowhere to rest.
Zones fix both problems. Guides to small backyard landscape ideas describe the same effect: when you step outside and see a dining corner, a lounge corner, and a garden edge, your brain reads three small places instead of one small yard. Each zone feels intentional, and moving between them feels like a short walk rather than a step across a plot.
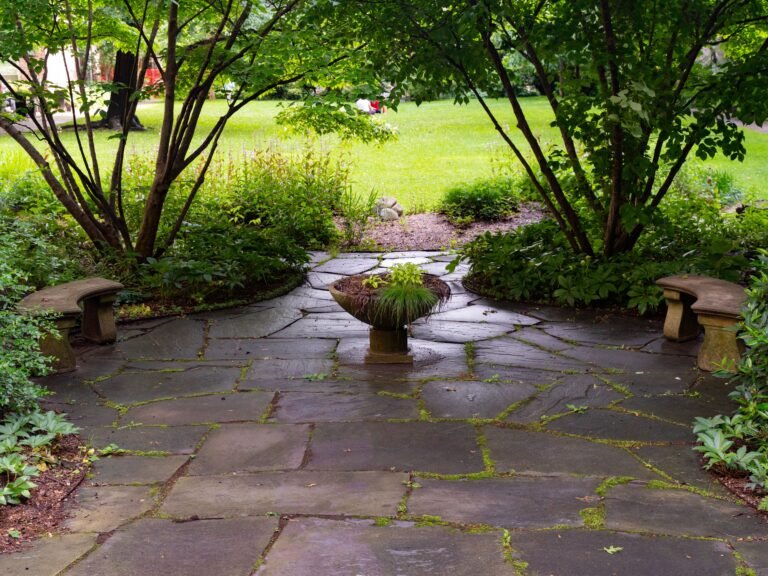
Use material changes to mark zones instead of walls. A dining area in pavers, a path in gravel, and a garden edge in mulch read as separate places without building anything that blocks light or air. A low planter, a change in paving direction, or a single trellis can mark a boundary just as well as a fence, and it keeps the yard feeling open.
Start with two zones if your yard is very small. Three is a good target for most small yards. More than three usually turns back into clutter.
Sketch Your Yard in an Afternoon
Before you buy anything, draw the yard. A rough sketch on paper is enough. You do not need design software, and a hand-drawn plan you understand beats a polished plan you do not.
Measure the length and width, then mark these things:
- Doors and gates, and which way they open.
- The sunniest spot at midday and the shadiest corner.
- Views you like and views you want to screen, such as a neighbor’s bins or a busy road.
- Existing trees, slopes, drains, and utility covers — things you cannot easily move.
- Where water comes from, such as an outdoor tap, because plants far from water get neglected.
Walk the yard at two times of day if you can: once in the morning and once in the late afternoon. A corner that is sunny at 10 a.m. may be fully shaded by 4 p.m., and that changes whether it suits dining, lounging, or shade-loving plants. Note the wind, too. A seating area in a wind tunnel will go unused, however pretty it looks.
Keep the sketch. Every later decision — where to eat, where to plant, where to put a path — should be checked against it.
The Three-Zone Sketch: A Worked Example
Here is a complete example you can adapt. All dimensions are a labeled example for a yard of roughly 20 feet by 30 feet, not a prescription for your yard. Imagine a back door in the middle of the house wall, a fence on three sides, and sun in the far left corner in the afternoon.
Zone 1: Eat, by the door. Put a small patio or seating pad directly outside the back door, big enough for a bistro table and two chairs, or a small table and four chairs if the space allows. Eating near the door matters: carrying food, plates, and drinks across a whole yard gets old fast, and a dining spot far from the kitchen is used less. A simple overhead cover, such as a shade sail or a small pergola, makes this zone usable in sun and light rain.
Zone 2: Lounge, in the sunny corner. Claim the sunniest corner for sitting, with two comfortable chairs and a small side table. Face the chairs toward the garden, not toward the fence, so the view is plants rather than boards. A single tall plant or a trellis behind the chairs gives a sense of enclosure without a wall.
Zone 3: Grow, along a fence. Run a planting bed along the sunniest fence line. This is where herbs, flowers, or a small vegetable bed live. Keep the bed narrow enough that you can reach the middle from the path without stepping on the soil — if you cannot reach it, you will not tend it.
The path and the center. Connect the zones with a gently curved path, not a straight runway down the middle. A curve slows the eye and makes the walk feel longer, which is exactly what a small yard needs. Keep walking paths about 3 feet wide so two people can pass comfortably. Leave the center of the yard open — lawn, gravel, or a simple groundcover — so the yard can breathe and children or pets have a clear patch.
The focal point. Choose one thing for the eye to land on: one small tree, a large pot, a water bowl, or a sculptural plant. Just one. A yard with five focal points has none, because the eye does not know where to settle.
That is the whole sketch: eat by the door, lounge in the sun, grow along the fence, a curved path between them, an open center, and one focal point. If your yard is a different shape, keep the relationships — eating near the door, lounging where the sun is, growing where the light suits — and change the measurements.
Tricks That Add Depth Without Adding Land
Once the zones are set, a few layout tricks make the yard read deeper, including several narrow backyard design tricks that work in any small yard:
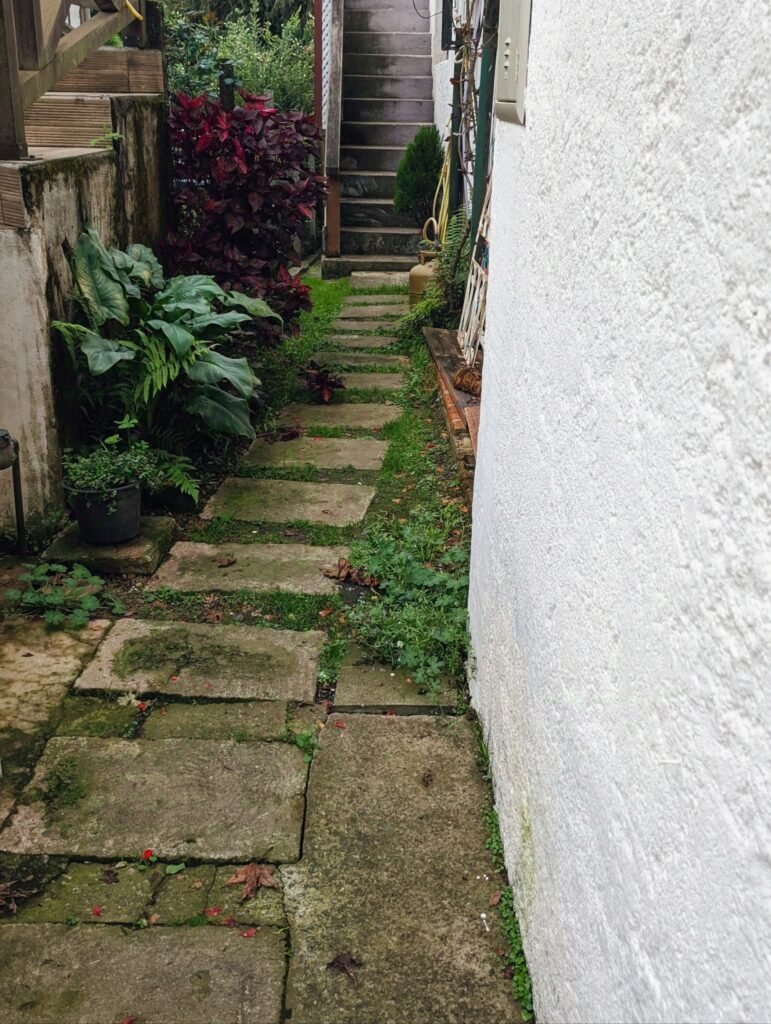
- Curve or angle the path. A straight path down the middle shows the whole yard at once and makes it feel short. A curved path, or pavers laid on a diagonal, hides part of the yard and invites you to walk further.
- Stagger the planting. Instead of lining plants in a straight row along the fence, step beds in and out. A bed that juts forward on one side and recedes on the other makes the eye move side to side, which breaks the corridor feeling in narrow yards.
- Screen the far fence. A trellis with a climbing plant, a tall shrub, or a row of narrow evergreens at the far end stops the eye at greenery instead of at a fence line. The yard feels like it ends in a garden, not a boundary.
- Add one overhead feature. A single pergola, arch, or shade sail over a zone change — for example, where the path leaves the dining area — gives a sense of moving from one room to another. One is enough. Two or three overhead structures in a small yard start to feel like a roof.
- Use lighter paving in shade. Dark paving in a shaded yard can feel heavy and closed in. Lighter gravel or pale pavers reflect more light and help a shady corner feel open. In a very sunny yard, the same pale surface can glare, so choose a mid-tone there instead.
None of these tricks requires more land. They change how the existing land is read, which is the cheapest square footage you will ever gain.
Plant in Layers, From Low to Tall
Planting in layers is how small yards avoid looking flat. Think of three heights:
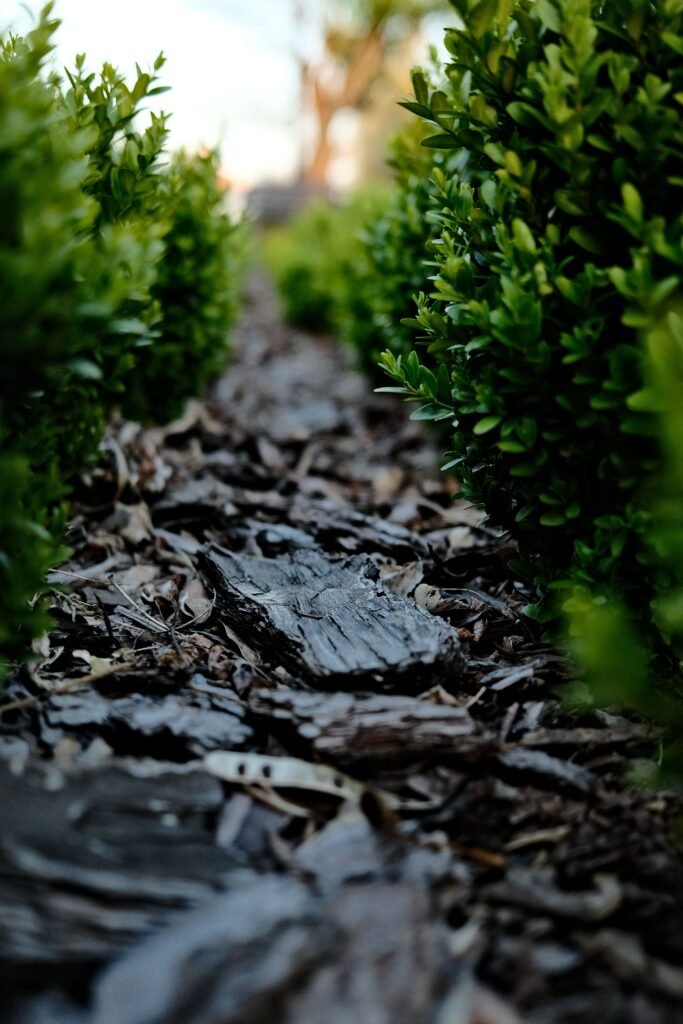
- Low layer: groundcovers, small herbs, and edging plants along paths. These soften hard edges and stop bare soil from showing.
- Mid layer: shrubs and larger perennials that give the yard its body. Choose plants that stay a manageable size, and check their mature width, not just their size in the pot. A shrub that doubles in width will swallow a path in two years.
- Tall layer: one small tree or a vertical feature, such as a trellis with a climber. This is usually your focal point. In a small yard, one well-placed tree does more than five shrubs crowded together.
For low-maintenance planting, favor plants suited to your local climate and soil over plants that need constant watering, feeding, or pruning to survive, as suggested in guides to landscaping ideas for a small backyard. Native shrubs, hardy perennials, and groundcovers are often suggested for this reason, and a layer of mulch around beds helps hold moisture and suppress weeds. If you use irrigation, drip lines aimed at plant roots waste less water than sprinklers spraying paths and fences.
Check the mature size of every plant before you buy. The label usually gives height and spread. If a plant’s mature spread is wider than the space you have, choose a smaller variety or a different plant. Pruning can control size for a while, but a plant fighting its space every year is a chore, not a joy.
A note on safety and rules: before you dig, check for buried utilities in your area and follow local guidance for marking them. Do not plant large trees over utility lines or drains, and check local rules before removing an existing tree or building a fixed structure near a boundary.
Furniture That Earns Its Place
In a small yard, every piece of furniture must justify its footprint. A good test: if you removed it, would the yard be noticeably worse? If not, it is clutter.
Choose small, movable pieces over large, fixed ones. A bistro set can be folded and stored in winter. A pair of lightweight chairs can move from sun to shade as the day changes. A storage bench does two jobs: seating and a place to keep cushions dry. A large, heavy dining set that seats eight in a yard used by two people most days is a poor trade — it eats the open center and rarely earns it back.
Keep furniture in proportion to the zone, not the yard. A lounge zone of 8 feet by 8 feet suits two chairs and a side table, not a full outdoor sofa. If you love the look of a sofa, look for a compact loveseat version rather than squeezing a full-size one into a corner.
Materials matter for maintenance. Metal and treated wood handle weather differently, and cushions left outside all year fade and mildew. If storage is tight, choose pieces that can stay out in rain, or plan a small waterproof box for cushions. The best furniture for a small yard is furniture you do not have to think about.
Build It in Phases, Cheapest Useful First
You do not need to build the whole sketch at once. In fact, building in phases usually gives a better result, because you learn how you use the yard before you commit to the expensive parts.
A sensible phase order is:
- Path and seating pad. These define the zones and make the yard usable immediately, even before planting.
- Planting. Start with the structural plants — the tree, the screening shrubs, the groundcover — then add flowers and herbs.
- Extras. Lighting, a shade sail, a water feature, or decorative pots come last, once you know which zone you actually sit in at dusk.
Reusing materials helps a budget without hurting the design. Gravel, mulch, and reused pavers can define a zone just as clearly as new stone, and buying plants at the end of the season or swapping cuttings with neighbors stretches a planting budget. Build one zone well rather than three zones thinly. A finished dining corner you use every evening beats a half-finished yard you avoid.
For more outdoor ideas in this spirit, browse the home design ideas on Luxury Homes Idea, and read about Luxury Homes Idea for the site’s approach to comfortable, livable spaces.
If You Rent or Share the Yard
Renters can use the same zone method with movable pieces. Pots are your planting beds: herbs do well in small pots, vegetables need larger ones, and a small tree needs a generous container with drainage. Line pots along a fence in a few heights to make a planting band without digging.
Do not build fixed structures, dig beds, or remove plants without permission from the landlord or, in a shared yard, agreement with the other users. Movable furniture, pots, and a freestanding shade sail give you most of the benefit with none of the dispute. When you move, the whole garden can move with you.
Frequently Asked Questions
How can I make a small backyard look bigger?
Divide it into two or three zones, keep the center open, use a curved or diagonal path, and give the eye one focal point. Layered planting and a screened far fence also help the yard read as deeper than it is. Avoid filling every corner — open space is what makes a small yard feel generous.
Do I need a lawn in a small backyard?
No. A small lawn can be a pleasant open center, but gravel, pavers, or groundcover work just as well and need less mowing and watering. Choose the center surface by how you will use it: lawn for play and bare feet, gravel for a low-maintenance seating area, groundcover for a planted look with little mowing.
What plants suit a small backyard?
Plants that stay a manageable size at maturity, suit your sunlight and climate, and fit the layer they belong to: low groundcovers at path edges, mid shrubs for body, and one small tree or vertical climber as a focal point. Always check the mature height and spread on the label, not just the size in the pot.
How do I design zones without feeling crowded?
Keep to two or three zones, mark boundaries with material changes rather than walls, keep paths about 3 feet wide, and leave the center open. If a zone feels cramped, the fix is usually to remove one feature from it, not to add a screen or a divider.
Can I landscape a small backyard on a small budget?
Yes, by phasing the work and reusing materials. Start with a path and a seating pad, then plant structural plants, then add extras later. Gravel, mulch, and reused pavers define zones at low cost, and one finished zone you use daily is better than a whole yard done thinly.
Draw the sketch this weekend, even roughly. Once the zones are on paper, every later choice — a plant, a chair, a path — has a place to go, and the small yard starts to feel like several good rooms instead of one tight plot.