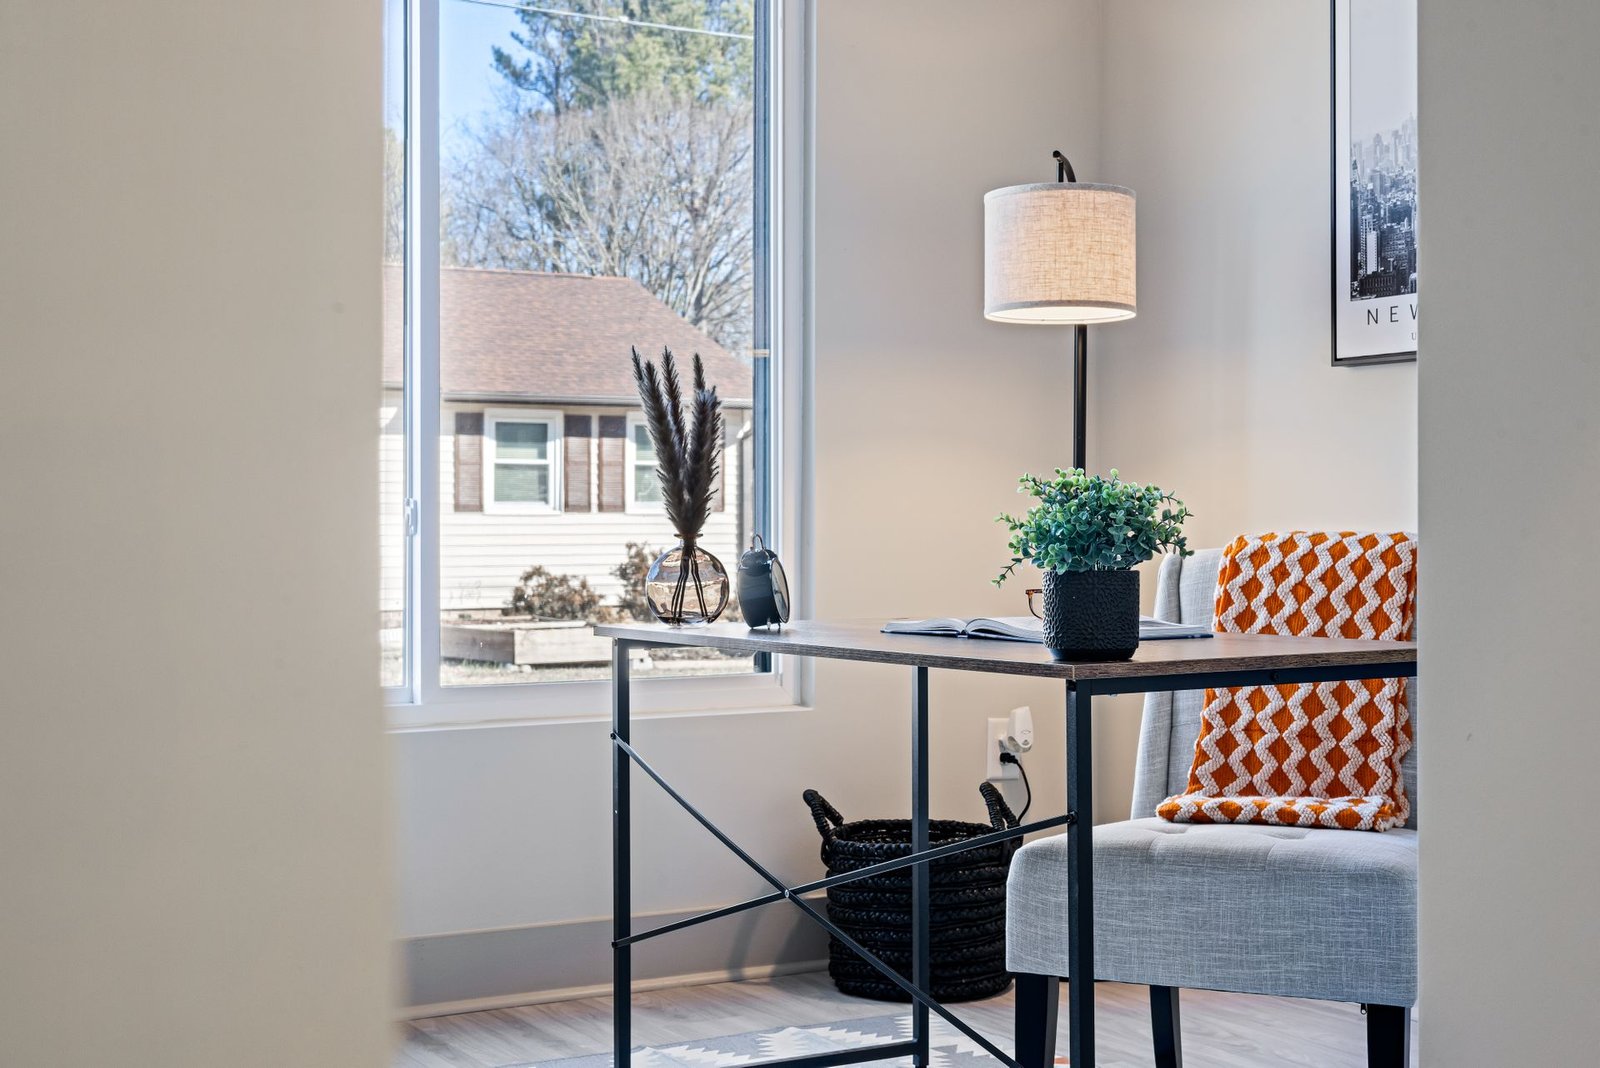
How to Build a Home Office: A Step-by-Step Guide From Bare Room to Finished Workspace
Learning how to build a home office starts with turning an empty room into a workspace in six phases: plan, frame, wire, quiet, furnish, and finish. Most conversions of an existing room cost $2,000 to $22,000, per Angi’s 2026 cost guide. Before you cut or drill, check local permit rules and hire a licensed electrician for any new circuit. This guide walks you through the work in order, with real dimensions and a worked example.
Start With a Plan, Not a Hammer
Pick the room first: a spare bedroom is easiest, but a basement corner, garage bay, or one end of a large room can work. The room needs three things: a door that closes, a window or a solid plan for light and air, and enough floor space for a desk, a chair, and storage. A 10-by-10-foot room is a workable minimum, and 10-by-12 feet feels comfortable.
Measure the length, width, ceiling height, and the position of every window, door, and outlet. Sketch the room and mark three zones: the desk wall, the storage wall, and the walking path. The desk wall should be the longest clear wall, close to outlets and away from screen glare. If you are weighing a basement, see how one can become a bonus room in 12 finished basement ideas from Bob Vila. Floor plans help too: mansion floor plans show how designers place work zones and storage, and beach house floor plans show how light and flow work.
What a Home Office Build Really Costs
Cost depends on scope. The table uses published 2026 guide ranges — planning numbers, not quotes.
| Build scope | Typical cost (2026 guide ranges) | Best for |
|---|---|---|
| Light conversion | $1,500–$4,000 | Spare room with walls and outlets |
| Full room build | $4,000–$15,000 | Divided space or bare room |
| New room addition | $20,000–$52,000 | No spare room at all |
| Built-in desk only | $2,000–$4,500 | Room needing only a desk |
| Built-in desk with cabinets | $4,500–$9,000 | Full-time office, serious storage |
Labor and materials move the price most: doing the framing, painting, and carpentry yourself can cut the bill nearly in half, while premium materials add thousands. Budget three buckets: structure, furniture, and a 10 percent cushion.
Permits and Rules: Check Before You Build
Call your local building department before you frame anything. A new partition wall with new outlets often needs a permit, and a room addition always does. Ask about the wall, outlets, and inspection.
Never remove, cut, or notch a load-bearing wall — it carries weight from the floor or roof above, and cutting one without support can damage your house. A partition wall only holds up its own drywall. If you are unsure which kind you are touching, hire a contractor or structural engineer to confirm. Renters need written landlord permission first. Before drilling, find where wires, pipes, and ducts run with a stud finder that detects AC current.
Frame the Room: Build a Partition Wall
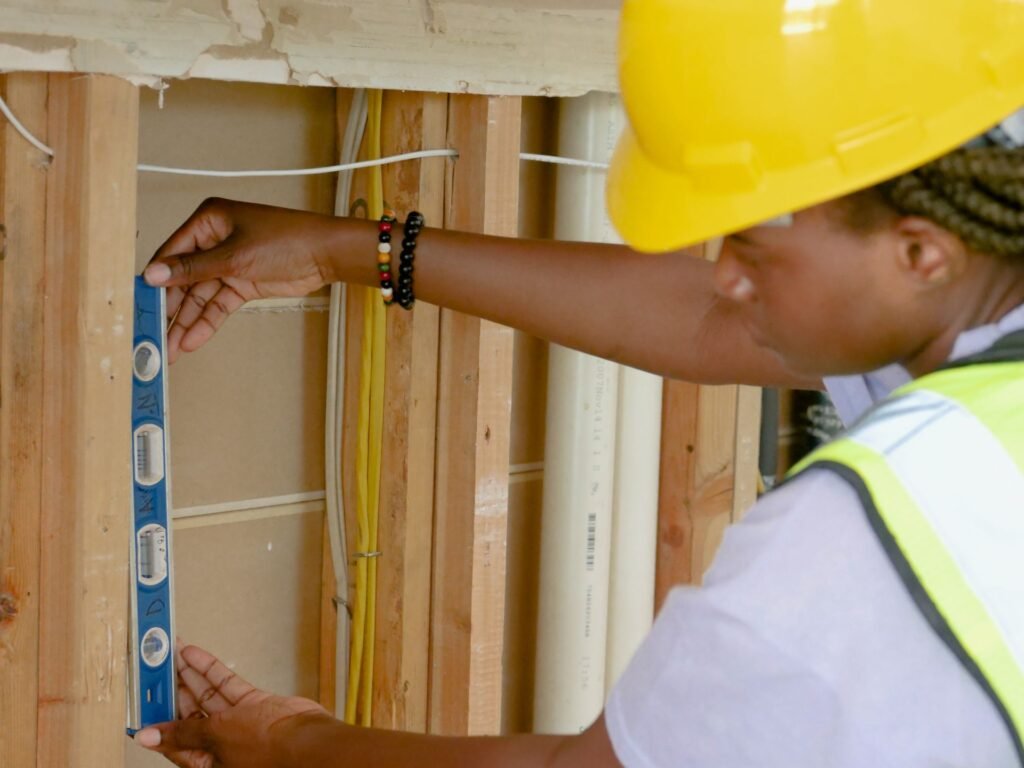
If your office needs its own room, a partition wall is the core of the build: a non-load-bearing stud wall of vertical studs between a top plate and a bottom plate, covered with drywall. This Old House explains how to frame a partition wall with the same steps used below.
Lay Out the Wall
Mark the wall’s position on the floor with a chalk line, then transfer it to the ceiling with a plumb bob or laser level — the two lines must sit directly above each other. Mark the door position and leave the bottom plate whole across the doorway for now. The same logic applies to a whole new room: our four season sunroom guide shows how framing and insulation keep a room comfortable year-round.
Build the Frame
Cut the top and bottom plates from straight 2-by-4 lumber to the full wall length. Lay them side by side and mark stud positions: the first stud 15 1/4 inches from one end, then every 16 inches after that — called 16 inches on center, which matches drywall sheets so every edge lands on a stud. For an 8-foot ceiling, cut studs to 92 5/8 inches. Screw the bottom plate to the floor and the top plate into the ceiling joists, then stand each stud between the plates, check it with a level, and fasten it by driving screws at an angle through the stud into the plate (toenailing). A single top plate is enough for a non-load-bearing wall.
Frame the Door Opening
A door needs a header: a horizontal beam over the opening that carries the drywall and framing above it. Frame the opening about 2 inches wider and taller than the door slab. On each side, place a king stud running the full wall height and a jack stud beside it running from the bottom plate to the header’s underside. The header sits on the jack studs, with short cripple studs above it. Once the frame is plumb and square, cut out the bottom plate inside the doorway.
Electrical and Lighting Rough-In
Do the wiring while the walls are still open — once drywall goes up, every new wire means cutting holes and patching. The hard line: a licensed electrician must do any new circuit, any work inside the main electrical panel, and any wiring you are not fully sure about. You can plan outlet positions yourself, but mains wiring is not a learn-as-you-go job.
Outlets Where You Need Them
Count what will plug in: computer, monitor or two, printer, lamp, phone charger, and a spare. Most home offices need at least four duplex outlets; six is better. Place two on the desk wall, one on each side of the desk. Add one near the door and one on the storage wall for a printer. Put desk-wall outlets about 18 inches above the finished floor. If the room has only one circuit, ask the electrician whether the office needs its own dedicated circuit — a computer, monitor, heater, and printer on one old circuit can trip a breaker.
Layer the Lighting
One ceiling light is not enough: good office lighting has three layers — daylight, overhead light, and task light. Place the desk near a window, but face it so the window sits to your side, not behind your screen, to avoid glare. Add a ceiling fixture or recessed lights on a dimmer, plus a desk lamp with a warm-white bulb (around 3000K). A windowless room needs bright, even ceiling light plus a daylight-temperature desk lamp.
Soundproofing and Ventilation
A home office fails when every call echoes and the television leaks through the wall. Handle sound and air while the walls are open — both are ten times harder to fix after drywall. Soundproofing seals a room while ventilation opens it, so plan them together.
Quiet the Walls the Right Way
Sound travels through air gaps and solid vibration, so insulation alone is not enough. Seal every gap first: run acoustic caulk along the bottom plate, around outlet boxes, and where the wall meets the ceiling — even a credit-card-thin gap leaks sound. Then add mass and break the vibration path: fill the stud cavities with mineral wool and hang a second layer of 5/8-inch drywall on the office side, with damping compound between the layers. For more quiet, mount the second layer on resilient channels that hold drywall slightly away from the studs. Sound is rated in STC (Sound Transmission Class): a plain hollow wall scores around STC 33, where conversation is clearly heard, while STC 45 to 50 blocks most of it. Finish with a solid-core door and a door sweep — a hollow door leaks more sound than the wall beside it.
Keep the Air Moving
A sealed room gets stuffy fast with a computer running all day. If it has a window, open it daily and add a small trickle vent. If not, you need mechanical air: extend a supply vent from your heating and cooling system, or fit a quiet through-wall vent fan with a return path under the door. Test the temperature with the door closed and the computer on before you call the build done.
Build a Built-In Desk and Storage
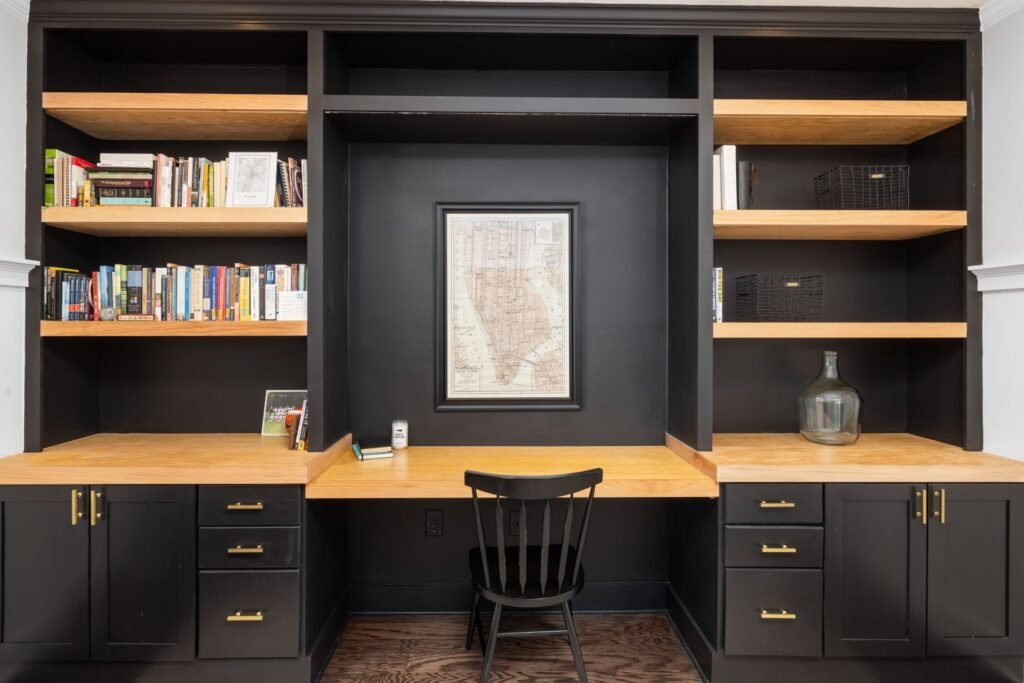
A built-in desk makes the room feel like an office instead of a spare room with a table in it: fixed to the wall, sized to the room, finished to match. Build it after the walls are wired and drywalled but before the final paint, so you can fill seams and paint desk and wall as one piece.
Measure the Desk Wall
Measure the full width of the desk wall, minus space for the door swing and walking path. A good desk is 28 to 30 inches high and 24 to 30 inches deep: 5 to 6 feet is generous for one person, 8 feet or more for two. Mark the desk height and where supports land on studs — every support must anchor into a stud. Plan cable holes now so wires drop behind the desk.
Build the Desk
The simplest strong desk is a plywood or butcher-block top on wall cleats and drawer units. Cut the top to fit the wall exactly. Screw wooden cleats into the studs along the back and side walls at desk height, set the top on the cleats, and screw it down from underneath. Support it with a drawer unit at one end and a leg or cleat at the other — a top longer than 6 feet needs a middle support, or it will sag. Cut a cable hole near the back edge and fit a plastic grommet. For matching storage, our home library ideas guide shows how built-in shelves can run floor to ceiling around a desk without crowding the room.
Add Shelves and Cabinets
Hang open shelves 18 to 24 inches above the desktop so you can reach books without standing. Anchor every bracket into studs. For closed storage, fit a floor-to-ceiling cabinet on the storage wall with adjustable shelves inside — your storage needs will change. Leave one open shelf at eye level for daily items and put the rest behind doors so the room looks calm on video calls.
Flooring, Drywall, Paint, and Trim
Finishing is where the build starts looking like a room. Work in this order: drywall, flooring, paint, trim.
Hang and Finish Drywall
Hang 1/2-inch drywall, screwing sheets into studs every 12 inches with screws just below the paper surface. Stagger the seams so they do not line up. Tape every seam, then spread joint compound in three thin coats, each wider than the last, with drying time between them. Sand lightly between coats and wear a dust mask.
Paint and Trim
Choose a light, matte or eggshell paint: it bounces light around and hides small flaws. Paint the ceiling first, then the walls, then the desk and built-ins. Trim makes the room look built rather than assembled: baseboards, door casing, and a small cap rail where the desk meets the wall. Wall finish matters as much as furniture — our decorating a dining room wall guide shows how the right treatment and trim can make a plain wall feel finished, and the same ideas apply behind your desk.
The Final Setup
With the build done, the setup is quick: desk in, chair adjusted, cables routed. Place the desk for daylight without screen glare, keep daily items within reach, and run cables through the grommets and along the wall — never across the floor. Our guide on how to create a functional home office covers layout, ergonomics, and daily workflow.
Worked Example: A 10-by-12-Foot Spare Room for $3,850
Take a spare bedroom, 10 by 12 feet with an 8-foot ceiling, in Ohio. The owner divides off a small closet area with a 12-foot partition wall, builds an 8-foot built-in desk, adds two outlets and a ceiling light, and lays new flooring. She does the carpentry and painting herself and hires a licensed electrician for the wiring. These are 2026 guide prices, not a quote.
| Item | What was done | Example cost |
|---|---|---|
| Partition wall (12 ft) | Framing, insulation, drywall, solid-core door | $450 |
| Electrical | 2 new outlets, ceiling light, circuit check | $900 |
| Built-in desk (8 ft) | Butcher-block top, cleats, drawer unit, grommets, paint | $850 |
| Flooring (120 sq ft) | Luxury vinyl plank, DIY install | $620 |
| Drywall and paint | Compound, tape, primer, 2 coats | $380 |
| Trim and door | Baseboards, door casing, door sweep, hardware | $450 |
| Misc (screws, caulk, blades, masks) | — | $200 |
| Total | $3,850 |
The build took three weekends: framing and wiring first, drywall and flooring second, desk, paint, and trim third. The lesson is the order — wiring before drywall, desk after paint, trim last. Skipping it would have meant cutting open finished walls or repainting the desk twice.
Mistakes to Avoid When You Build a Home Office
- Building before measuring. A desk 2 inches too long or a door that hits it costs a weekend. Measure twice, then cut.
- Too few outlets. One per wall is never enough. Plan four to six, and add a dedicated circuit if the electrician recommends it.
- Wiring after drywall. Every forgotten wire means a hole in a finished wall. Rough it all in while the studs are bare.
- Skipping the permit. An unpermitted wall or outlet can cause trouble when you sell. The call takes ten minutes.
- A hollow door. It leaks sound and feels cheap. A solid-core door makes the room feel finished and quiet.
- Ignoring ventilation. A sealed room with a computer gets hot and stuffy. Plan air flow with soundproofing.
- DIY electrical work. New circuits and panel work belong to a licensed electrician — saving a few hundred dollars is not worth the fire risk.
Frequently Asked Questions
How much does it cost to build a home office?
A light conversion usually runs $1,500 to $4,000, a full room build with a partition wall, wiring, and built-ins runs $4,000 to $15,000, and a new room addition runs $20,000 to $52,000, per published 2026 cost guides. The worked example here came to $3,850 with the owner doing the carpentry and painting herself.
Do I need a permit to build a home office?
It depends on your town and the scope. A new partition wall with added outlets often needs a permit, and a room addition always does; painting, flooring, and freestanding furniture usually do not. Call your local building department before you start.
How long does it take to build a home office?
A simple spare-room build takes two to three weekends: one for framing and wiring, one for drywall and flooring, one for the desk, paint, and trim. A full build with built-ins takes three to four weekends.
Can I build a home office in a garage or basement?
Yes. A garage needs insulation, a finished floor, and heating; a basement needs moisture control and good lighting. Both need a permit check and an electrician for new circuits.
What size should a home office be?
A 10-by-10-foot room (100 square feet) is a workable minimum for one person with a desk, chair, and storage. A 10-by-12-foot room (120 square feet) is comfortable, with room for shelves and a second chair. Smaller than 8 by 10 feet, it starts to feel cramped once a desk and storage go in.
A Finished Office Starts With the First Wall
Building a home office is a sequence, not a single project: plan the room, frame the walls, wire it while the studs are bare, quiet it and keep the air moving, build the desk to fit the wall, and finish it like a real room. Do the steps in order, hire an electrician for new circuits, and check permits first. The reward is a room with a door that closes — where work starts when you sit down and ends when you stand up. For the rooms around your new office, see our guides to Victorian style home floor plans and entryway decor.
Disclaimer: This guide shares general home improvement information for planning purposes. Costs, building codes, and permit rules vary by location, and every home is different. Hire a licensed electrician for new circuits and panel work, and a qualified professional for structural, gas, or major repair work. If you are unsure about any step, get local professional advice before you build.